
Smart lighting is the most satisfying upgrade in home automation — when it is planned. Bought randomly, it becomes a drawer of half-used bulbs. Plan it room by room instead.
First: bulbs, switches or both?
Smart bulbs give colour and per-lamp control; they hate wall switches being turned off. Smart switches keep normal wall behaviour and control the whole circuit — better for ceiling fixtures and rentals where guests will always press the switch. Many homes end up with switches in shared rooms and bulbs in personal spaces.
Living room
Layer three sources: a colour lamp behind the TV (bias lighting reduces eye strain), warm table lamps on smart plugs or bulbs, and the ceiling on a dimmer switch. Scenes: Movie (10%, warm), Reading (60%), Entertaining (full, slightly cool).
Kitchen
Bright and functional wins: high-CRI white-spectrum bulbs or switches at 4000K for work, with a 30% warm “evening” scene for late snacks. Under-cabinet light strips are the luxury worth paying for.
Bedroom
Warm-only is fine and cheaper. The killer features are fade-in wake-up lighting (gentler than any alarm) and a bedside “everything off” control. Keep any status LEDs out of sight lines.
Hallways and bathroom
This is motion-sensor territory: lights on at 100% by day, 10% dim after 23:00 so nobody is blinded at 3am. A cheap sensor plus one bulb per corridor is all it takes.
Budget strategy
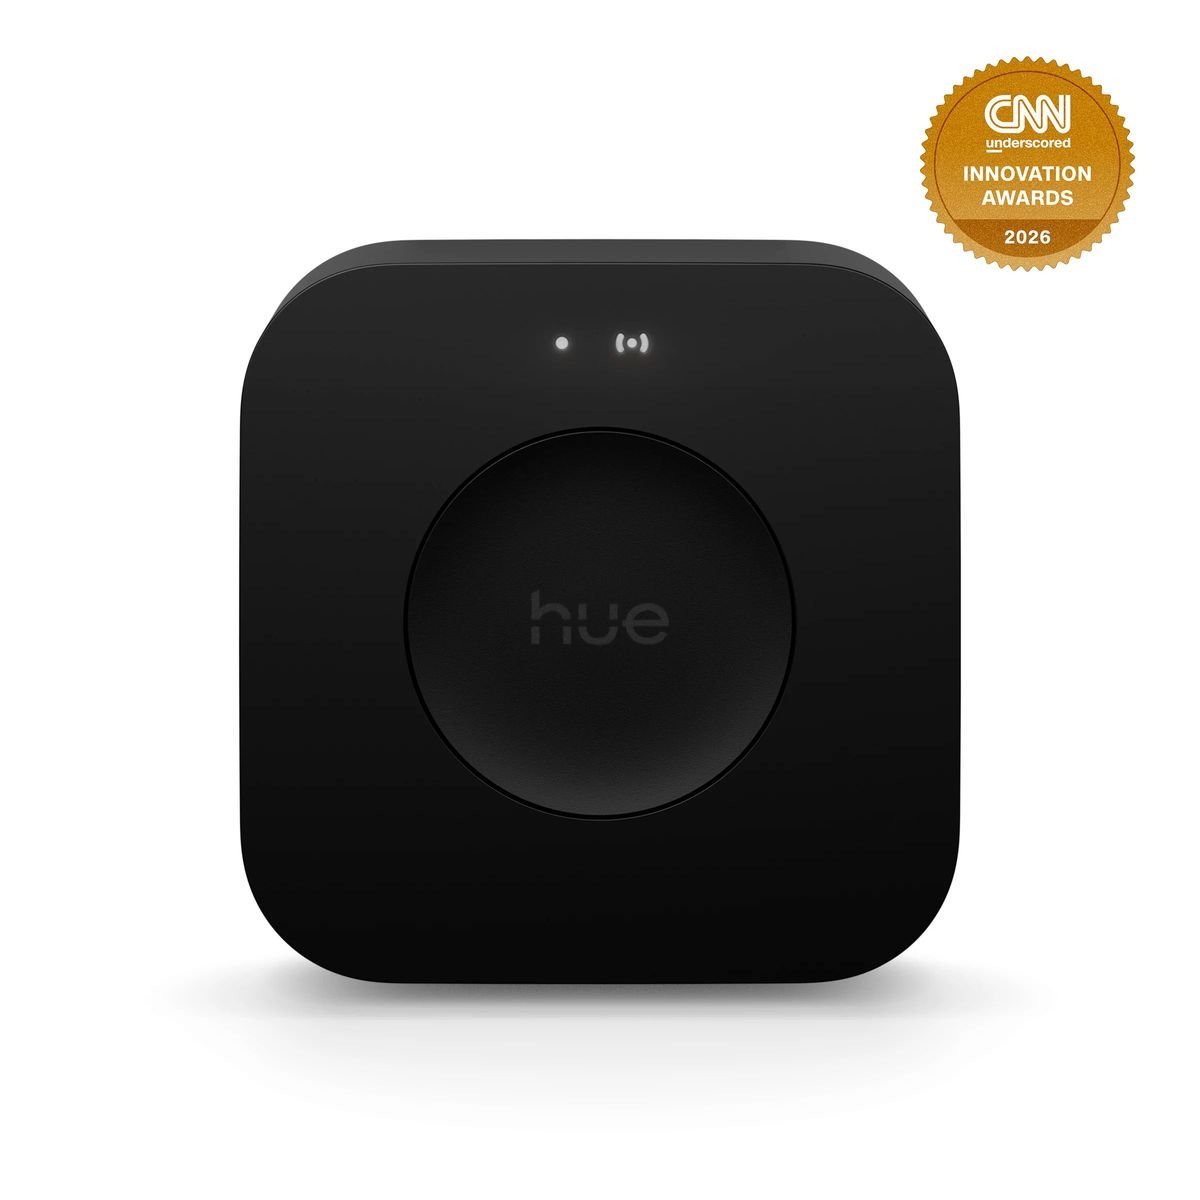
Start with WiZ or IKEA Matter bulbs (under $12) in the rooms you use most; save Philips Hue money for where colour quality visibly matters. Whatever brand you pick, stay consistent per room — mixed systems in one space means two apps for one light scene.